Club Lotus Australia is full of interesting people who are up to interesting things with interesting cars. We think that’s wonderful, so we’re going to share their stories with you here!
If you’d like to share your story on the club website, just send Seth a quick email at [email protected]
In this post, we catch up with Ashton to find out more about his journey with the Tuft’s Eleven. It’s been a little while since we caught up with the project, so why not take a refresher? You can enjoy part 1 here, part 2 here and part 3 here.
TUFT’S ELEVEN JANUARY 2015
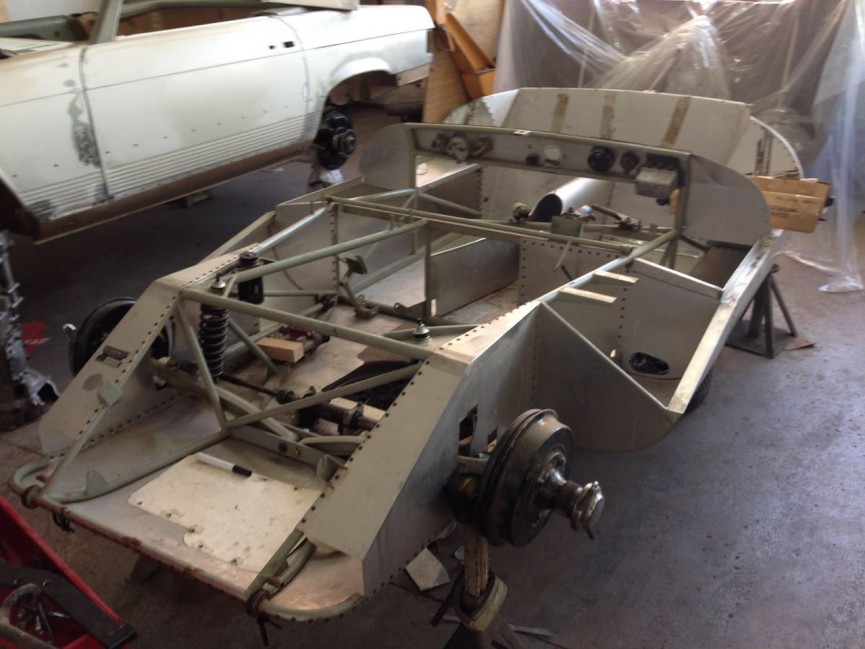
It’s time for a quick update, as I’ve just been up to drop off the rear shocks so they can get the drive train aligned. If it isn’t one part, it’s another – soon they’ll have the whole car up there!
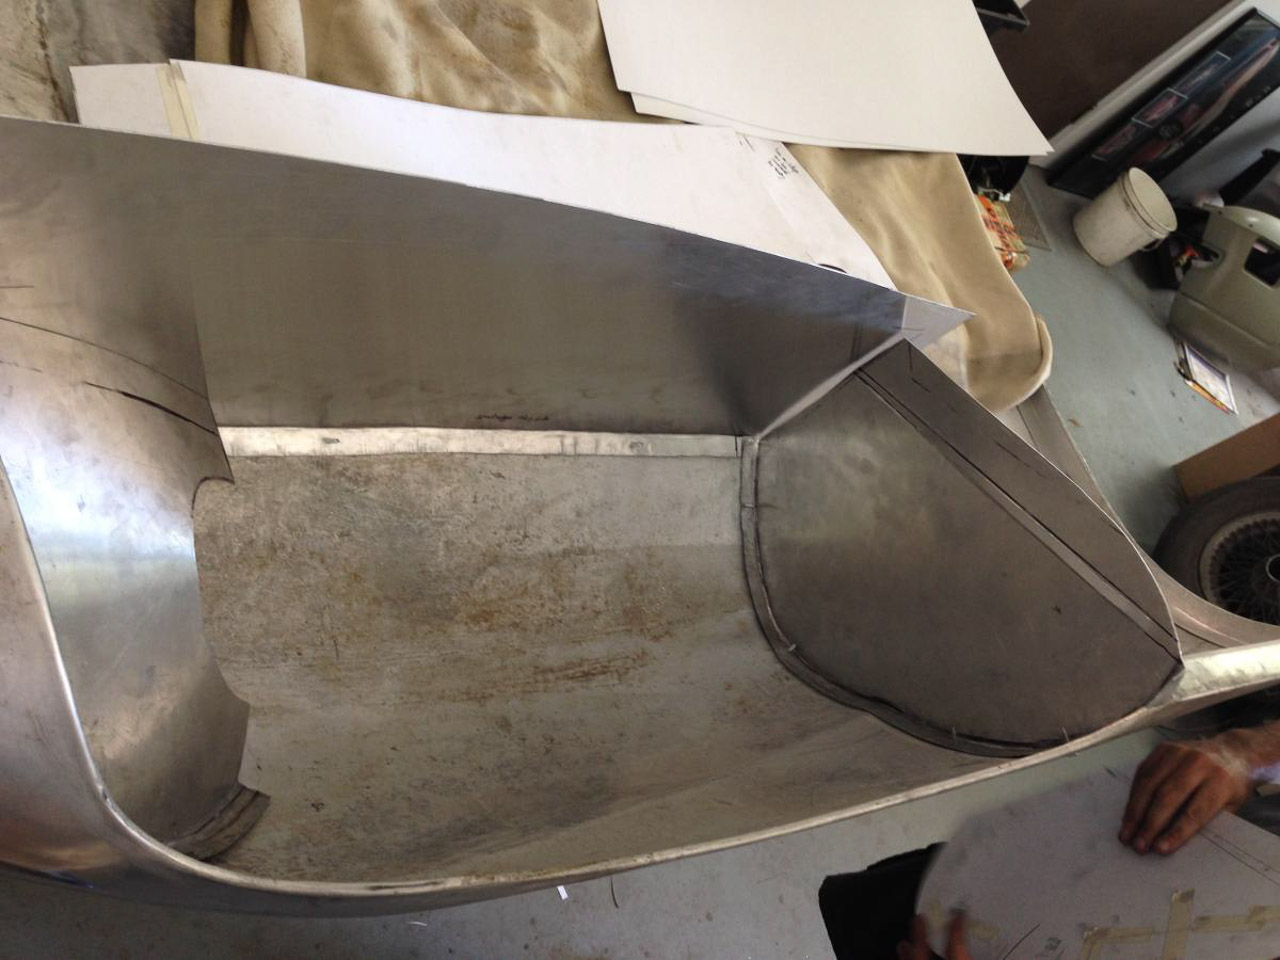
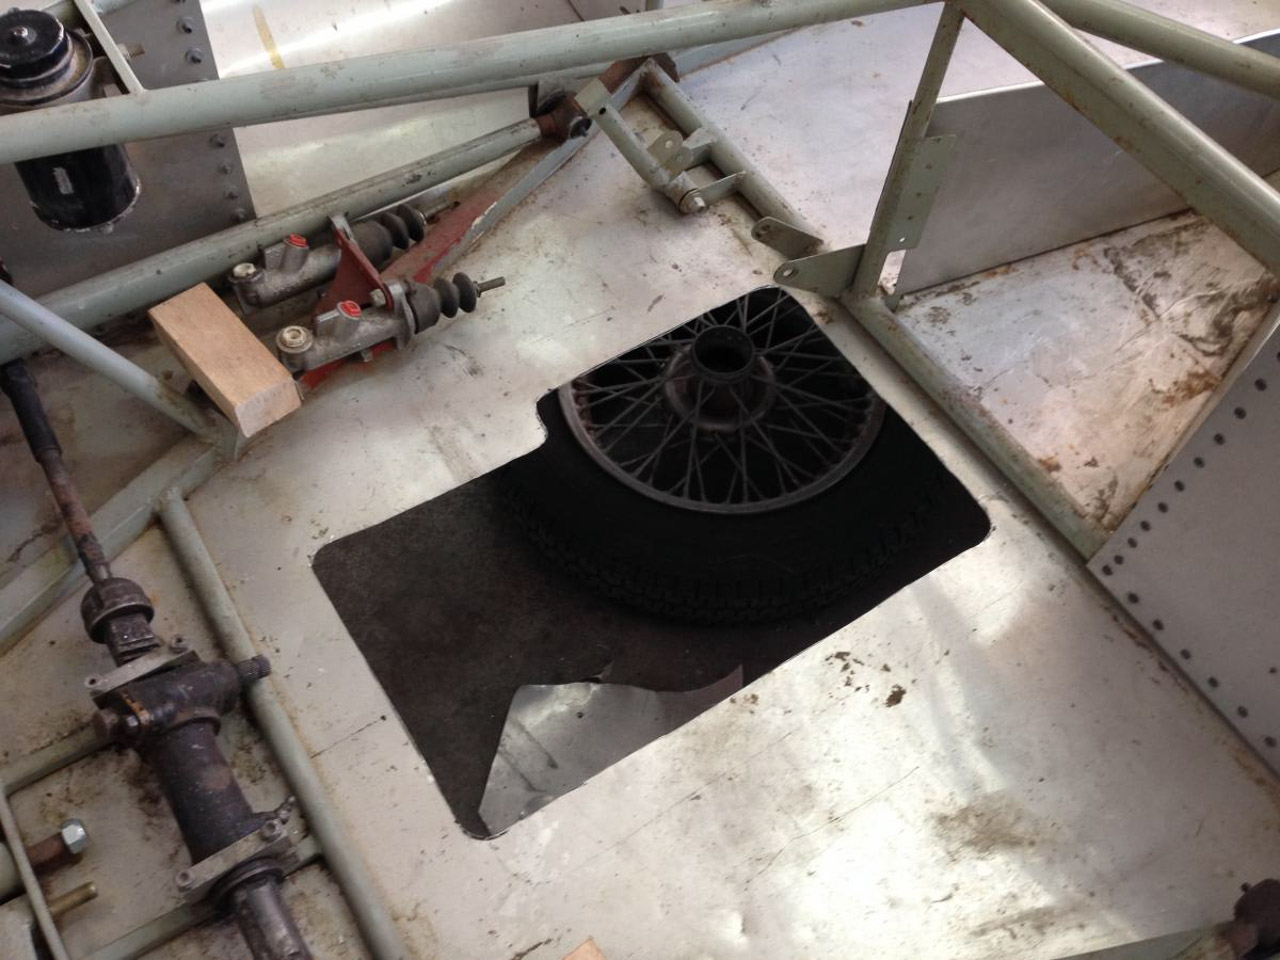
Progress is being made – the templates have been cut for the mudguards and other cowels inside of the front clam, the first hole has been cut in the floor (still pains me to write that!), the drive train is being fitted and fettled to get it to all line up nicely, and then she’ll be down on her wheels again to make sure that everything fits together.
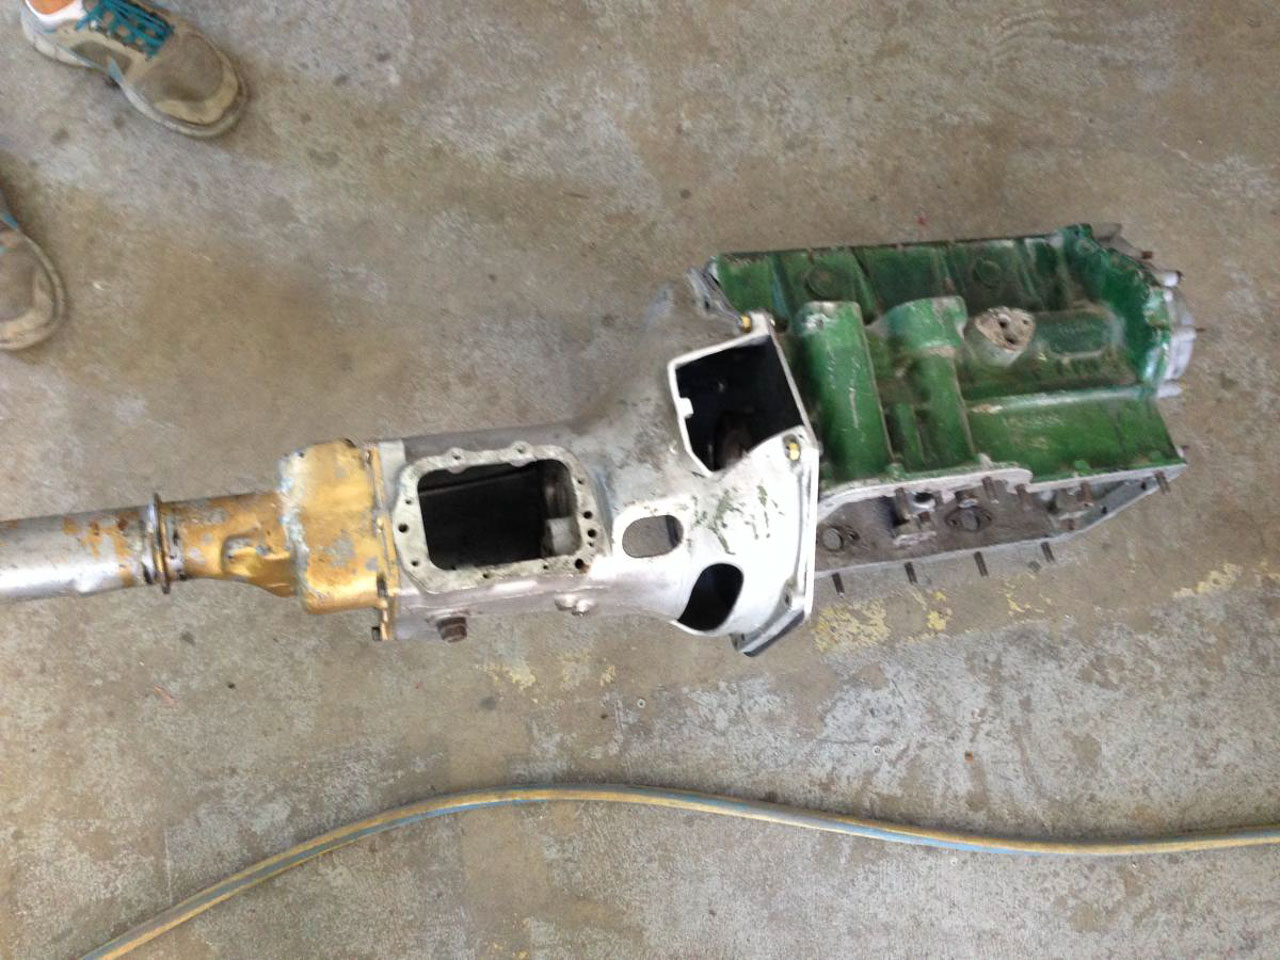
As noted before, the gearbox bellhousing has required a little more cutting to go in (including the oval hole along the bottom so that it clears the chassis rail at the back of the engine bay, but hey, what’s another hole in the bell housing when there are two already).
The mounting bar across the front of the engine needs re-engineering (for that read re-designing!) to give a few millimetres more height to ensure the engine and gearbox are flat in the chassis, while still being canted over at 10 degrees to the nearside in order to allow the bonnet to close without a power bulge!
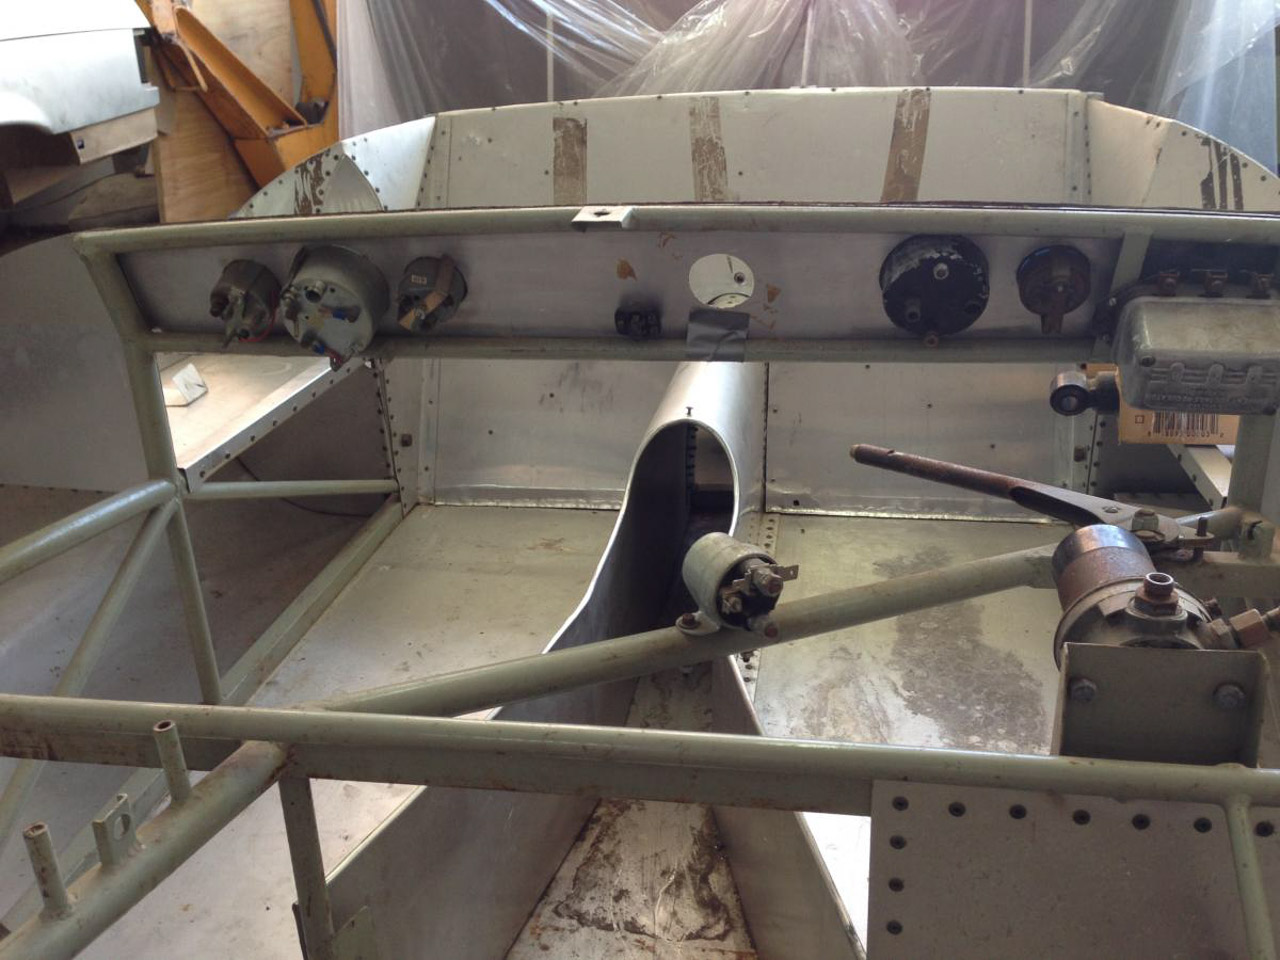
They have taken the scuttle off, so now I can get to the fuel pump, regulator and starter relay. This will allow me to find out if they work! I need to go back with some spanners and remove them, so I’ll take the dashboard off at the same time so that I can get that recovered, and also get all the gauges tested (and replaced where they are not the right ones). While I’m in there I’ll help myself to the handbrake lever, as it needs a wire brush and fresh coat of black paint.
And so progress continues!
